Last Updated on August 25, 2026 by Umar Farooq
There is a published order for this, and almost nobody follows it. An extension service sets out the principle in one paragraph:
Almost every page you will find on this subject starts at the wall surface, because that is where the products are. The wall surface is the last line of defence.
What follows is that published sequence, with the numbers attached. It also says plainly where DIY has to stop, including one boundary that kills people every year.
Step 0. Work out which problem you have
Condensation and seepage look similar on a wall and need opposite fixes. Tape plastic or foil tightly over a damp patch and leave it a day or two. Moisture on the room side means condensation. Moisture behind it means water coming through. We cover the full diagnosis separately.
If it is condensation, there are exactly two levers, and the regulator states them in a single sentence:
Every legitimate interior fix is one of those two. Anything that is neither, and paint is neither, is not addressing the mechanism.
Step 1. Free, and it comes first
The published sequence puts interior moisture sources ahead of all outside work, which surprises people.
Put a lid on the sump
This one is free, it is sourced, and no page competing for this search mentions it.
Your house is pulling air in at the bottom, and an open sump pit is a hole straight into wet ground. The same guidance notes that on a block foundation, moist air is drawn through the block cores, especially where they are left open at the top course.
Step 2. Stop airing it out in summer
The instinct is to open the windows. In summer that is the cause rather than the cure.
The guidance is not to ventilate the basement directly with warm humid air, and to use air conditioning or a desiccant heat exchanger instead.
Step 3. The outside, which is where the water is
This is the rung with the best return, and the published position is unambiguous:
For scale, in a one inch rain, 1,250 gallons of water fall on the roof of a 2,000 square foot house. Your gutters decide where that goes.
Downspouts, and an honest note about the distance
You will find four different numbers quoted for how far a downspout should discharge. They are all real, and they are not all for you.
| Published figure | Who says it |
|---|---|
| At least 4 feet beyond the wall | Extension service, general |
| At least 5 feet from the building | Federal building programme, lateral piping |
| 5 feet for crawlspaces, 10 feet for homes with basements | University extension, and this is the basement-specific one |
| 10 feet to an underground catchment | Federal building programme |
And the reason this matters more than it sounds:
Other published specs worth having: at least one downspout per 50 linear feet of roof eave, and one square inch of downspout cross-section for every 100 square feet of roof area. A useful field method before you commit: observe where the stormwater will flow before disconnecting anything, by running a hose and watching.
Grading, with three standards that disagree
| Standard | Required fall |
|---|---|
| Building code | Not fewer than 6 inches within the first 10 feet. Where that is impossible, drains or swales, and any impervious surface within 10 feet sloped at least 2 percent away |
| Federal building programme | Permeable surfaces sloped at least half an inch per foot for at least 10 feet |
| Extension service, for basements | One inch per foot for at least 6 feet |
Measuring it is straightforward arithmetic rather than a published procedure, and we are labelling it as such because the official guidance says only to inspect visually. Drive a stake at the wall and another ten feet out. Run a string between them and level it with a line level. Measure from string to ground at the far stake. Six inches meets code, five inches per ten feet meets the federal figure.
One free diagnostic that follows from the code text: if you have a path or patio within ten feet that has settled so it slopes toward the house, that is a defect in its own right, and it is probably your problem.
Window wells
Often the single worst detail on a house, and the spec is published: wells should be filled from the footing to the window sill with three-eighths to three-quarter inch coarse aggregate, with a supplemental drain tile extension running from the footing to the base of the well. Guidance describes a badly built well as being like a drain right next to the basement wall.
On covers, be careful. We could not verify any code text on window well covers, and an egress well cover has to be openable from inside without tools. Do not seal yourself in.
Step 4. The point repairs that are genuinely DIY
Hydraulic cement, and what its own maker forbids
This is the most useful correction on the page. There is no government or academic source on hydraulic cement for basement leaks, only manufacturers, and we are saying so. But the manufacturer’s own technical sheet contains a limitation that contradicts the way most people use the product:
So smearing it across a damp patch of wall is a use the manufacturer explicitly excludes. It is a point-leak plug and nothing else.
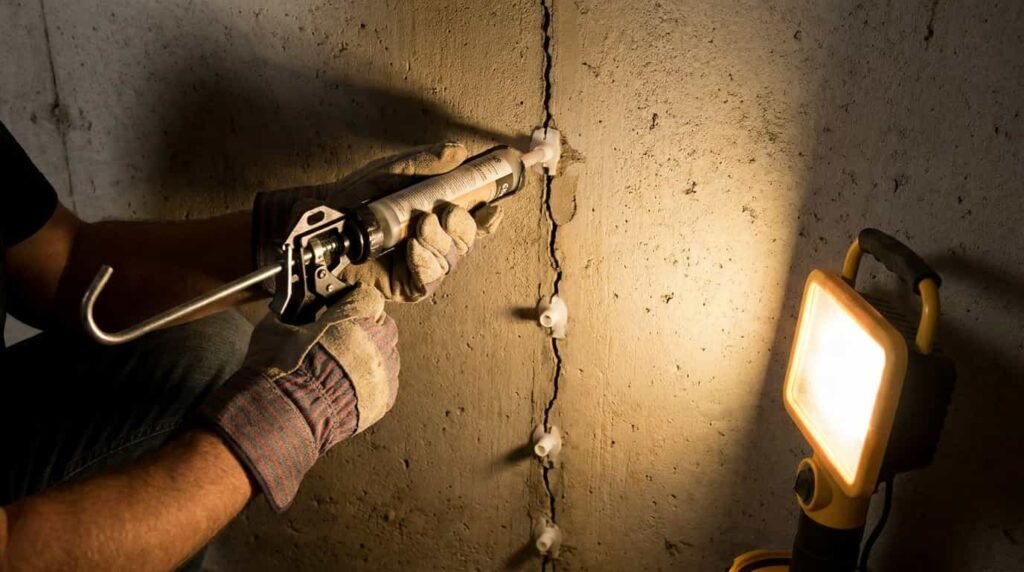
Used properly it works: start at the top of the crack and work down, holding light pressure on the patch until initial set begins and the leaking stops. Prepare by removing loose material and any paint, sealant or other non-cementitious coating, and by enlarging small cracks with square or undercut edges rather than a V cut. Mix no more than you can place in two or three minutes. It causes severe skin burns and serious eye damage, so wear gloves and eye protection.
What it does not do is lower the water on the other side. That water is still there and will find another route.
Crack injection, and the decision rule nobody publishes
The concrete institute’s repair guide gives criteria that are far more useful than anything in the DIY market, and they are about how the crack behaves rather than how wide it is.
Read that as a filter:
- Is it structural? Then it is an engineer’s job, and the conditions that caused it must be corrected before injection.
- Is it still moving? If the crack is subject to subsequent movement, an epoxy repair may not be applicable. Rigid resin in a live crack simply cracks again beside itself.
- Is there rust staining at the crack? Cracks caused by corroding reinforcing steel should not be repaired by epoxy injection, because continuing corrosion will cause new cracks.
- Is it non-structural, dormant and not rusting? Then polyurethane injection is the appropriate material, and this is where the DIY kits legitimately sit.
That last case, on a poured concrete wall, is genuinely within reach. Everything above it is not, and the guide itself says it does not relieve the user of responsibility for a structural evaluation by an experienced engineer.
Repointing an older wall
If the mortar is failing on brick or stone, the material rule is the whole game and it is the opposite of most people’s instinct:
A stronger mortar does not give, so the stress is relieved through the masonry units instead, causing cracking and spalling that cannot easily be repaired. On an old solid wall, reaching for a strong cement mix damages the wall.
The same guidance is blunt about doing it before fixing the cause. Without appropriate repairs to eliminate the source of the problem, mortar deterioration will continue and any repointing will have been a waste of time and money.
What about sealing the wall-floor joint?
Here is a nuance that explains why you keep seeing this recommended. No authority supports sealing that joint to stop water; the published approaches all drain it instead. But sealing the slab-to-wall seam is a legitimate measure for air and soil gas control, including radon.
Same action, different purpose. Doing it for soil gas is sound. Doing it to stop water will disappoint you.
Step 5. Dehumidify, knowing what it is and is not
Target below 60 percent relative humidity, ideally 30 to 50 percent. But this rung comes late for a reason, and the warning attached to it is stronger than anything else in the guidance:
So on a wall that is actively wicking water, a dehumidifier can accelerate the damage to the concrete while making the room feel better. Use it after the water is controlled, not instead of controlling it.
Where DIY has to stop
The crack width numbers are made up
You will be told that a quarter of an inch means call an engineer and an eighth is fine. We went looking for the source of those thresholds and there isn’t one.
What does exist in the standards is a serviceability figure for reinforced concrete design, and the concrete industry warns against reading it the way the internet does. The reference figure of sixteen thousandths of an inch is described as a reasonable crack width for reinforced concrete under service loads in dry air exposure, with the explicit note that a portion of cracks in a structure will exceed it, that with time a significant portion can exceed it, and that the width may double. The same body points out that cracks in reinforced concrete are not a defect but are specifically included as part of the design process.
So replace the width rule with a behaviour rule. Is it moving? Is there rust staining? Is it horizontal, stair-stepped through block, or is the wall visibly bowing inward? Those are signs of lateral soil load, which is a structural question and therefore somebody else’s.
Water under the slab
If water appears out in the floor away from the walls, or comes up all round the wall-floor joint after rain, it is arriving under the slab. Every published method for dealing with that involves giving it a drained path, and none of them can be done without breaking concrete. On a block wall, holes must be drilled at the base of every block core to permit drainage, which tells you the scale.
Do not dig outside. This is the hard stop.
Excavating along a foundation to tank it from outside is suggested casually on forums. Workplace safety guidance is not casual about it:
The threshold for mandatory cave-in protection is five feet, and where a competent person judges there is a potential for cave-in you must be protected regardless of depth. A basement wall is deeper than five feet by definition, and you would be digging against previously backfilled ground, which is the less stable case.
Exterior drainage is described as the most costly but also the most effective approach. It is also the one that is not a DIY project under any circumstances.
Old paint and old insulation
A detail nobody joins up: the standard preparation instruction for patching requires removing any paint or coating first. In a pre-1978 house, that is precisely the activity the lead rules exist for.
The rules themselves generally do not apply to a homeowner working on their own home, though they do if you rent it out, run a childcare facility there, or are renovating to sell. But the dust is hazardous either way, which is why the trained-renovator category exists.
And if there is vermiculite anywhere you are working, the instruction is to assume it contains asbestos and not disturb it, and to hire a professional if your work would.
Electricity and water
Do not touch electrical equipment if it is wet or if you are standing in water, and turn the power off first if it is safe to do so. Standing water in a basement can be electrically charged.
Six things sold to you that will not work
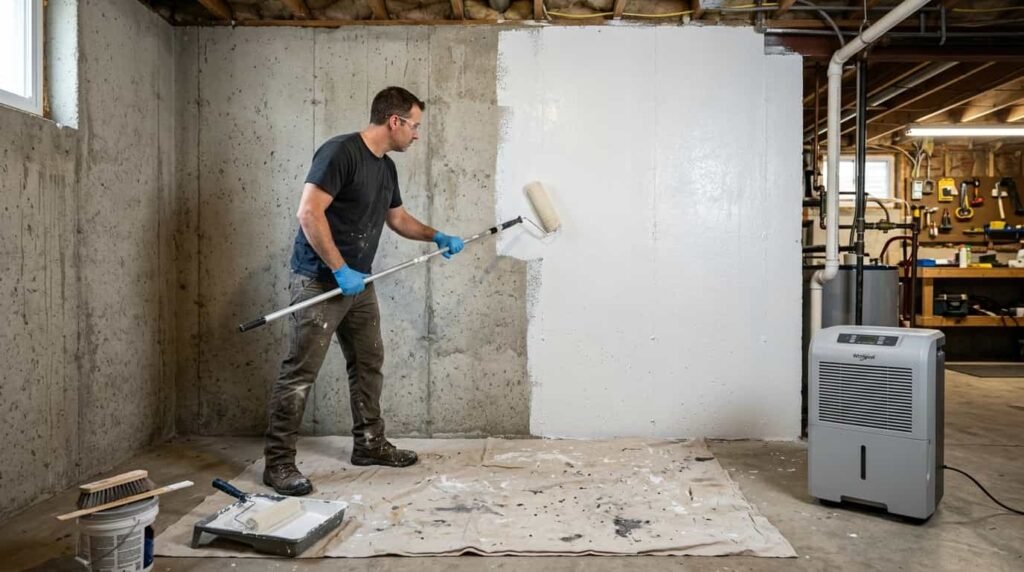
- Waterproof paint or an interior coating as the fix. It is appealing and less expensive than drainage and seems to work for a time, but the water is still there and eventually these systems deteriorate or simply move the water to another pathway into the basement. We cover the evidence on this in detail elsewhere.
- Hydraulic cement spread over a damp area. Forbidden by the manufacturer’s own datasheet.
- A dehumidifier instead of fixing the water. See the warning above.
- Cement render on an old solid wall. Harder than the masonry, so the wall takes the stress instead of the mortar.
- Insulating or framing over a wall that is still wet. Walls must be dry before insulating, standing water must be eliminated and the source repaired first, and interior vapour barriers must be avoided on assemblies designed to dry inward.
- Digging it out yourself. See above.
On the last of those, one more thing worth knowing before you finish a basement. A study of finished basements found harmful moulds present in sixteen out of eighteen of them. That figure gets attributed to a US university across the internet; it is actually Canadian research, reported second hand. Finishing a basement before dealing with the moisture makes conditions worse rather than better.
On costs, and why there is no table here
We are not going to give you a cost table. The retail sites that would price the materials refuse automated access, and every figure circulating for this work traces back either to one named contractor or to a summary with no source behind it. A table of invented numbers would not help you.
The argument that survives currency and country is the ratio. Steps 1 to 3 above cost a weekend, a few downspout extensions and possibly a load of fill. The professional drainage work at the bottom of the ladder costs four figures. And the published guidance says to do steps 1 to 3 first, because they may solve the problem.
One expectation to set: you cannot judge this in a week. Run through a full wet season before concluding that the cheap work has failed.
FAQ
Can I really fix a damp basement wall myself?
You can do the things most likely to work, which are the cheap ones outside. You cannot do drainage, excavation or structural repair. The honest answer is that the DIY portion is real and it is not the portion the shops sell you.
What is the single cheapest thing that might work?
Extending your downspouts to ten feet and clearing the gutters. That plus grading is what the published sequence says to correct first, on the grounds that it may solve the problem outright.
My wall has a crack. Is it serious?
Width will not tell you and the thresholds you will be quoted are not sourced. Look at behaviour instead: is it growing, is it horizontal, is the wall bowing inward, is there rust staining. Any of those means get it looked at.
Should I seal the crack before or after fixing the outside?
After. Sealing an entry point while water is still being delivered to the wall moves the problem rather than solving it, and the repointing guidance makes the same point about wasted work.
How long before I know if it worked?
A full wet season. Basement moisture is seasonal, and a dry fortnight in August proves nothing about February.
The wall is only damp in summer. Is that still a leak?
Probably not. Summer-only dampness on a cool wall is the signature of condensation, and the fix is the two levers rather than anything to do with the outside of the house.